Minautomata 0: Rusty WASM
22 Feb 2022In this series
- Part 0. - Rusty WASM (you are here)
- Part 1. - Cellular Automata
Rusty WASM
I’ve been mucking around in Rust for a couple weeks and I stumbled upon wasm-bindgen for Rust - a tool for compiling Rust to web assembly. I’ve previously experimented with using emscripten for compiling C++ to WASM, but never ended up going anywhere with it. Rust, as usual, has an excellent community and fantastic documentation so wasm-bindgen was a breeze to get started with. I’ve been toying around with the idea of creating a simple falling sand game (like this) inspired by a talk given by the developers of the game Noita at GDC 2019.
Getting started with WASM in Rust
I’m using wasm-bindgen for which there is incredible documentation available already. In addition there is the excellent wasm by example which contains a bunch of examples of how to do thing in WASM from various languages including Rust.
I started with the basic wasm-bindgen “Hello, World!” tutorial, then, for my falling sand game, I incorporated code from this checkerboard example.
Start by creating a new library (I’m calling it minautomata):
$ cargo new --lib minautomata
This will create the required directory structure and some placeholder files for our rust library:
$ tree minautomata
minautomata
    ├── Cargo.toml
    └── src
        └── lib.rs
Using wasm-bindgen, this Rust library will be callable from within javascript in the browser.
Add wasm-bindgen to the dependencies in Cargo.toml, and also change the library type to “cdylib”:
[package]
name = "minautomata"
version = "0.1.0"
edition = "2021"

[lib]
crate-type = ["cdylib"]

[dependencies]
wasm-bindgen = "0.2"
In the Hello World example, it goes on to get you to call the alert javascript function from Rust function greet from javascript - a good intro but not what we’re looking for! The checkerboard example is good too, but it uses static mutable (global!) variables. I can improve on this a bit - let’s expose a struct which will contain the game instead.
Create a new file, src/game.rs. In this file we’ll create a struct which contains the board data - a linear array of colour values - and has a update function called once per iteration. The game object needs to also have a function to get access to the buffer of colour values - to be read by javascript.
use wasm_bindgen::prelude::*;

const CANVAS_SIZE: usize = 128;
const CELLS_BUFFER_SIZE: usize = CANVAS_SIZE * CANVAS_SIZE;
const COLOUR_BUFFER_SIZE: usize = CELLS_BUFFER_SIZE * 4; // RGBA for each cell

#[wasm_bindgen]
pub struct Game {
    output_buffer: [u8; COLOUR_BUFFER_SIZE],
    processed_this_frame: [bool; CELLS_BUFFER_SIZE],
}

#[wasm_bindgen]
impl Game {

    #[wasm_bindgen(constructor)]
    pub fn new() -> Self {
        let mut g = Game{
            output_buffer: [0; COLOUR_BUFFER_SIZE],
            processed_this_frame: [false; CELLS_BUFFER_SIZE],
        };

        // set alpha to 100%
        for i in 0..CELLS_BUFFER_SIZE {
            g.output_buffer[i+3] = 255;
        }

        // place a single white cell in the middle at the top
        g.setv(CANVAS_SIZE/2, 0, [255; 4]);

        // return new Game object
        g
    }

    #[wasm_bindgen]
    pub fn update(&mut self) {
        // TODO update rules
    }

    /// Set the colour of cell at position (x, y)
    fn setv(&mut self, x: usize, y: usize, v: [u8; 4]) {
        let idx = y*CANVAS_SIZE + x;
        if idx < CELLS_BUFFER_SIZE {
            for off in 0..4 {
                self.output_buffer[idx*4 + off] = v[off];
            }
        }
    }

    /// Get the colour of cell at position (x, y)
    fn getv(&self, x: usize, y: usize) -> [u8; 4] {
        let mut rv: [u8; 4] = [0; 4];
        let idx = y*CANVAS_SIZE + x;
        if idx < CELLS_BUFFER_SIZE {
            for off in 0..4 {
                rv[off] = self.output_buffer[idx*4 + off];
            }
        }
        rv
    }

    /// Set whether the cell at position (x, y) been processed this frame
    fn setp(&mut self, x: usize, y: usize, v: bool) {
        let idx = y*CANVAS_SIZE + x;
        if idx < CELLS_BUFFER_SIZE {
            self.processed_this_frame[idx] = v;
        }
    }

    /// Has the cell at position (x, y) already been processed this frame?
    fn getp(&self, x: usize, y: usize) -> bool {
        let idx = y*CANVAS_SIZE + x;
        if idx < CELLS_BUFFER_SIZE {
            self.processed_this_frame[idx]
        }
        else {
            true
        }
    }
}
Add this to the module in src/lib.rs:
mod game;
We can build the project with:
$ wasm-pack build --target web
Which will create a new directory with the WASM output and the necessary javascript interface. We now need to create an index.html for our web app:
<!DOCTYPE html>
<html>
  <head>
    <meta charset="UTF-8" />
    <title>MINAUTOMATA</title>
    <script type="module" src="./index.js"></script>
  </head>
  <body>
    <canvas
      width="128"
      height="128"
      style="image-rendering: pixelated; image-rendering: crisp-edges; width: 500px; margin: auto;"
    ></canvas>
  </body>
</html>
I’ve kept this very simple for brevity, but you’d definitely want to style this a bit more than I have.
And some javascript, index.js:
import wasmInit from "./pkg/minautomata.js";

const r = wasmInit("./pkg/minautomata_bg.wasm");

r.then(after_wasm_init).catch(console.error);

function after_wasm_init(w) {
    // get module after wasm init
    const r = import("./pkg/minautomata.js");
    r.then(r => after_init_and_load(r, w)).catch(console.error);
}

function after_init_and_load(rust, wasm) {
    let game = new rust.Game();
    start(game, wasm);
}

const container = document.getElementById("container");
const canvasElement = document.querySelector("canvas");
const canvas_size = 128;

function start(game, wasm) {

    // Set up Context and ImageData on the canvas
    const canvasContext = canvasElement.getContext("2d");
    const canvasImageData = canvasContext.createImageData(
        canvasElement.width,
        canvasElement.height
    );

    // Clear the canvas
    canvasContext.clearRect(0, 0, canvasElement.width, canvasElement.height);

    update(game, wasm, canvasImageData, canvasContext);
}


function update(game, wasm, canvasImageData, canvasContext) {

    // Run update func: update board values
    game.update();

    // Extract frame data from game obj
    const wasmByteMemoryArray = new Uint8Array(wasm.memory.buffer);
    const outputPointer = game.get_output_buffer_pointer();
    const imageDataArray = wasmByteMemoryArray.slice(
      outputPointer,
      outputPointer + canvas_size * canvas_size * 4
    );

    // Set the values to the canvas image data
    canvasImageData.data.set(imageDataArray);
    canvasContext.clearRect(0, 0, canvasElement.width, canvasElement.height);
    canvasContext.putImageData(canvasImageData, 0, 0);

    // call update again in x ms
    setTimeout(() => {
      update(game, wasm, canvasImageData, canvasContext)
    }, 17); // ~60 FPS
};
You’ll end up with a directory like:
$ tree minautomata
minautomata
├── Cargo.lock
├── Cargo.toml
├── index.html
├── index.js
├── pkg
│   ├── minautomata.d.ts
│   ├── minautomata.js
│   ├── minautomata_bg.wasm
│   ├── minautomata_bg.wasm.d.ts
│   └── package.json
├── src
│   ├── game.rs
│   └── lib.rs
└── target
    └── ...

94 directories, 500 files
Serve the directory with your favourite web server:
$ python -m http.server
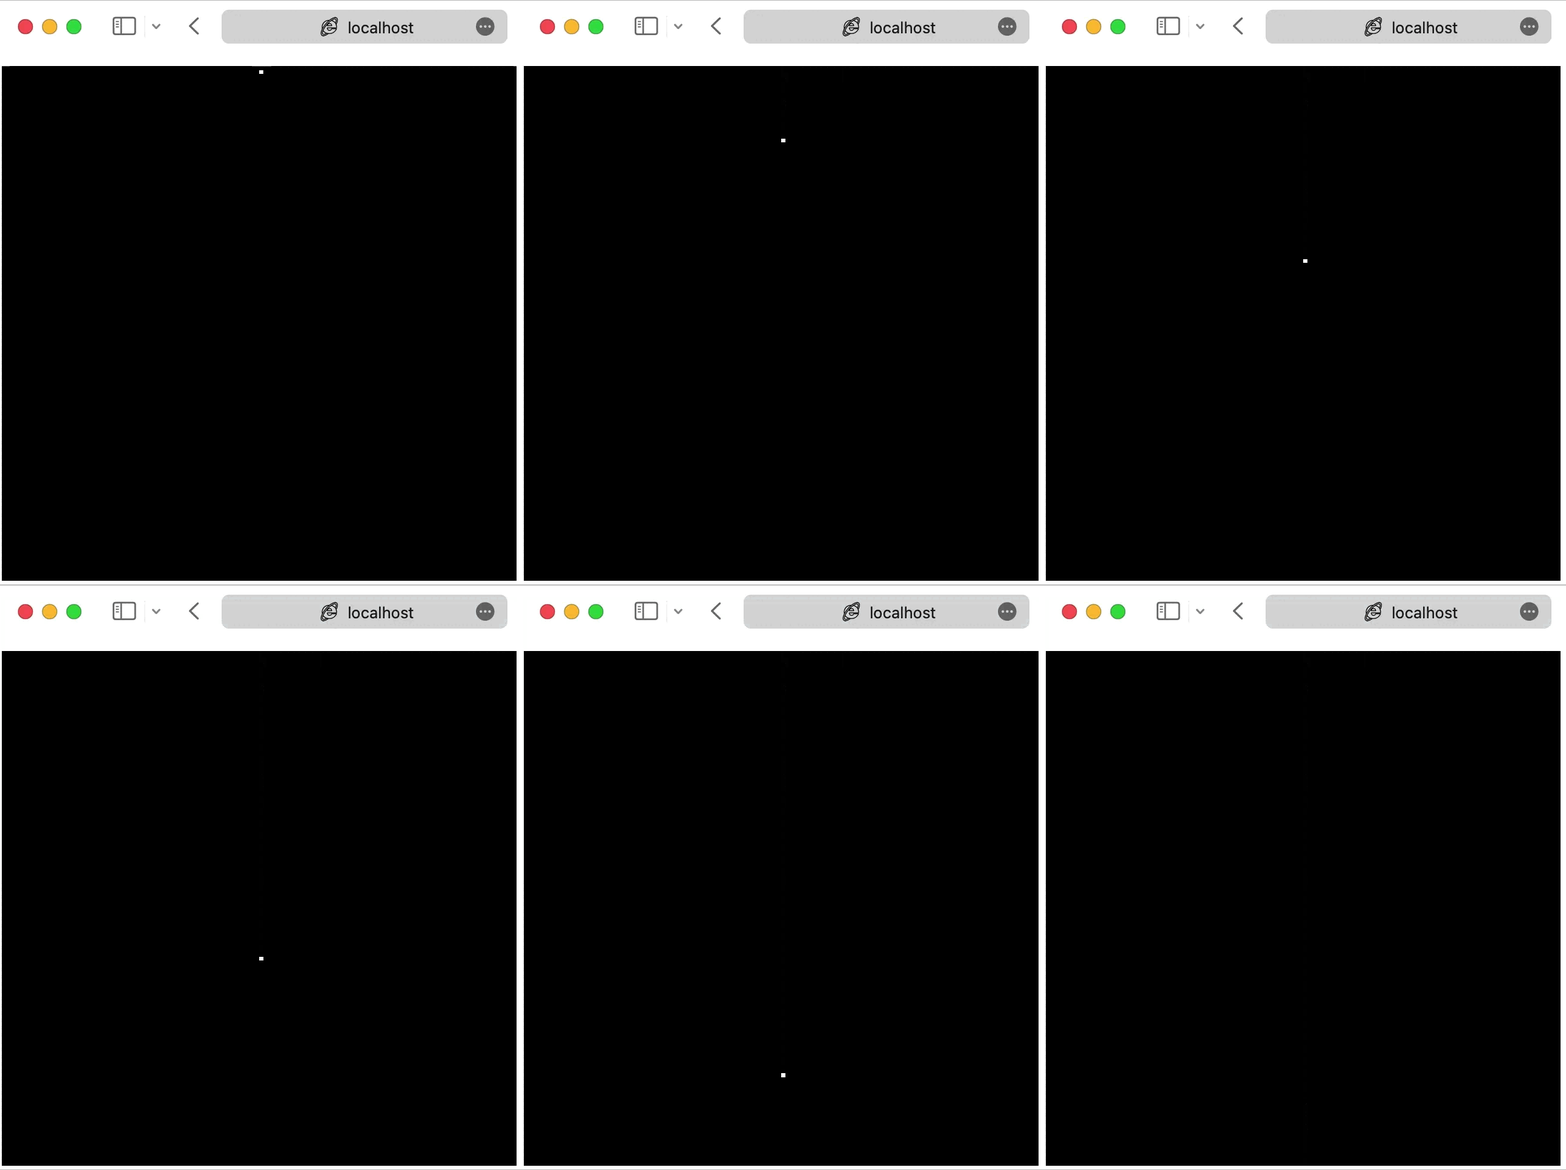
And you’ll be greated by a black box and a stationary white dot: not very exciting.

Let’s add a rule to the game:
IF CELL IS WHITE:
    IF CELL BELOW IS BLACK:
        MOVE CELL INTO CELL BELOW
This simple rule will approximate gravity of sorts - at least it makes things fall.
Let’s update the update function with this rule:
    pub fn update(&mut self) {
        for y in 0..CELLS_BUFFER_SIZE {
            for x in 0..CELLS_BUFFER_SIZE {
                let v: u8 = self.getv(x, y)[0]; // only worry about r component for now

                // if cell is white and cell below is black, fall
                if (v == 255) && (self.getv(x, y+1)[0] == 0) {
                    self.setv(x, y, [0, 0, 0, 255]);
                    self.setv(x, y+1, [255; 4]);
                }
                // otherwise, do nothing

            }
        }
    }
However… there’s a problem. If we run this, the white dot on top of the board will not fall, it will disappear! This is because we process from top to bottom, and we read and write in the same pass. One way we could do this is to have two buffers - read from one and write to the other and then copy write buffer to read. But a slightly simpler way is to have a boolean flag array - “was this cell processed this frame?” If this flag is true, then we ignore the cell this frame.
    pub fn update(&mut self) {
        for y in 0..CELLS_BUFFER_SIZE {
            for x in 0..CELLS_BUFFER_SIZE {
                self.setp(x, y, false);
            }
        }

        for y in 0..CELLS_BUFFER_SIZE {
            for x in 0..CELLS_BUFFER_SIZE {
                if self.getp(x, y) {
                    continue;
                }

                let v: u8 = self.getv(x, y)[0]; // only worry about r component for now

                // if cell is white and cell below is black, fall
                if (v == 255) && (self.getv(x, y+1)[0] == 0) {
                    self.setv(x, y, [0, 0, 0, 255]);
                    self.setv(x, y+1, [255; 4]);
                    self.setp(x, y+1, true);
                }
                // otherwise, do nothing

            }
        }
    }
Re-build and re-serve the directory
$ wasm-pack build --target web && python -m http.server
And you’ll be greeted by the wonderful sight of a falling white dot!

Conclusions
In this post I have described the process of getting started with rust wasm (very briefly). More in-depth information is available (and better written than I could) in the docs and examples:
This seems to be a great way of putting together an app very quickly, very portably and without compromising on performance. In my day job I’ve been banging my head against the wall of library issues with my app - MacOS is a bit finicky about dynamically linked libraries - so this experience has been quite refreshing. I wonder if it’s too late to port my app to Rust+wasm from Cpp+Qt? 🤔
In this series
- Part 0. - Rusty WASM (you are here)
- Part 1. - Cellular Automata
